Recommendations for use
HOW THE MASKS WORK
|
Filter Installation
Step 1
|
Filter Installation
Step 2
|
Remove the Daily Filter
Step 3
|
|
|
|
|
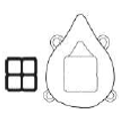
Remove the filter frame and place
the filter over the slot
|
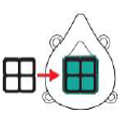
Insert the frame by applying pressure
and ensuring that the filter covers the
entire frame area
|
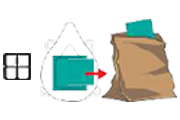
When the day is over remove the filter and place
it in a paper bag. Do not use a plastic bag.
|
|
Filter Installation
Step 4
|
Remove the Daily Filter
Step 5
|
IMPORTANT
|

|

|

|
Each filter needs to be put in a new paper bag.
Plastic bags MUST NOT be used.
It is recommended to have a minimum of 5 different
bags. List them and put the new filter in a new bag.
|
When the day is over remove the filter and place it in a paper bag.
Do not use a plastic bag.
|
You must have at least 5 filters in
your rotation, and use one per day
to meet the CDC regulation.
Do not reuse the same filter in less than five days.
|
RECOMMENDATIONS FOR FILTER USE
Step 1
|
Step 2
|
Step 3
|
|
|

|
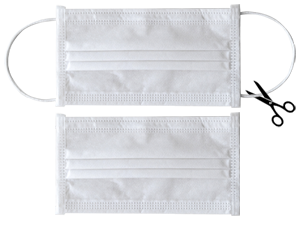
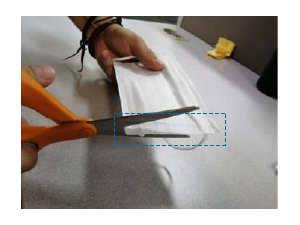
| To use the filter correctly, the outer layer of the mask must be removed. |
Cut the mask from any side frame
|
The mask has 3 layers. Take the outer layer and pull gently to remove it completely without damaging the
middle layer and the inner layer. |
Note: Once the outer layer of the mask has been removed, dispose of in a trash can.
Step 4
|
Step 5
|
|
|

|
|
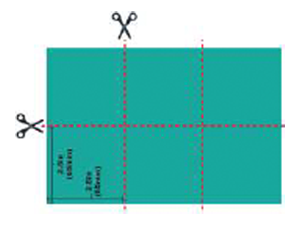
Cut the surgical mask (included with the mask), into 2.5" x 2.5"
(65mm x 65mm) squares as many times as possible. |
Once the cuts are complete, the filters are ready to use.
|
|
RECOMMENDATIONS FOR THE CORD USE
Step 1
|
Step 2
|
Step 3
|
|
|
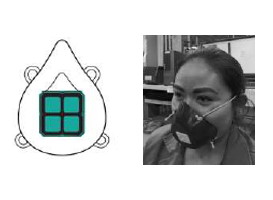
|
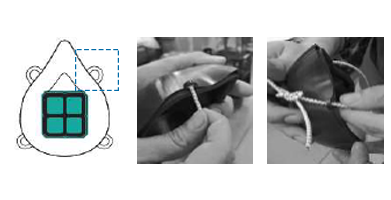
Take the elastic cord that is included with the mask
and insert it through one of the top slots and tie a knot when
the end is near the slot.
|
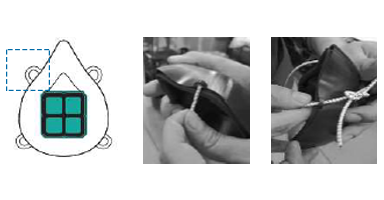
Thread the other end of the string through the top
second slot and tie a knot when the end is near the slot.
|
Thread the other end of the string through the top second slot and tie a knot when the end is near the slot. |
Note: In case the cord is loose, undo the knot and shorten the cord length for the new knot.
THESE DESIGNS HAVE CURRENT PROVISIONAL PATENTS AND ARE INTENDED FOR THIS GOODWILL CAMPAIGN DURING THE COVID-19 COURSE. PLEASE NOTE THAT THIS MASK DESIGN IS NOT INTENDED TO REPLACE STANDARD PROTECTIVE EQUIPMENT SUCH AS N-95 MASKS OR SURGICAL MASKS WHEN SUCH EQUIPMENT IS AVAILABLE.


